Now it’s time to peek under the hood of my personal productivity systems. Yeah, the one that is so simple I don’t have to think about it. This system begins with setting up Nozbe integrations to work with your other apps. In this post, you’ll learn how Nozbe’s integrations connect all your favorite apps together to automate your life.

Simple Action Steps for Setting Up Nozbe Integrations
Step 1. Set up a Nozbe account if you don’t already have one.
Nozbe lets you create an account that is free forever for up to five projects.
If you have more projects, you can upgrade your Nozbe account and get an extra month three months with promo code “robbymiles“
Step 2. Set Up Nozbe Integrations
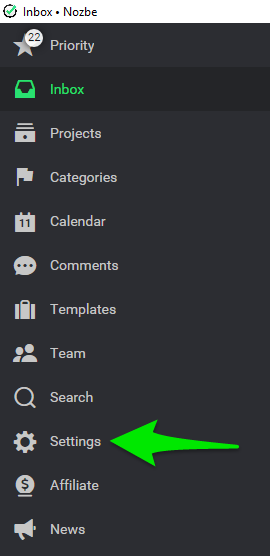
- Go to Settings
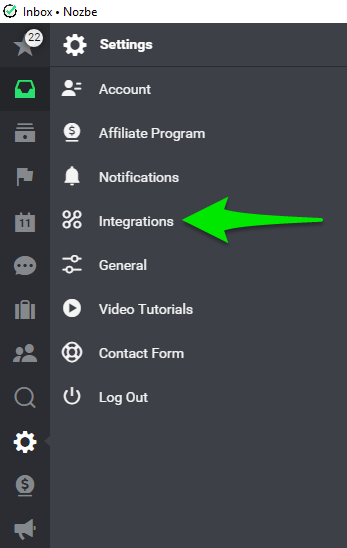
- Click Integrations
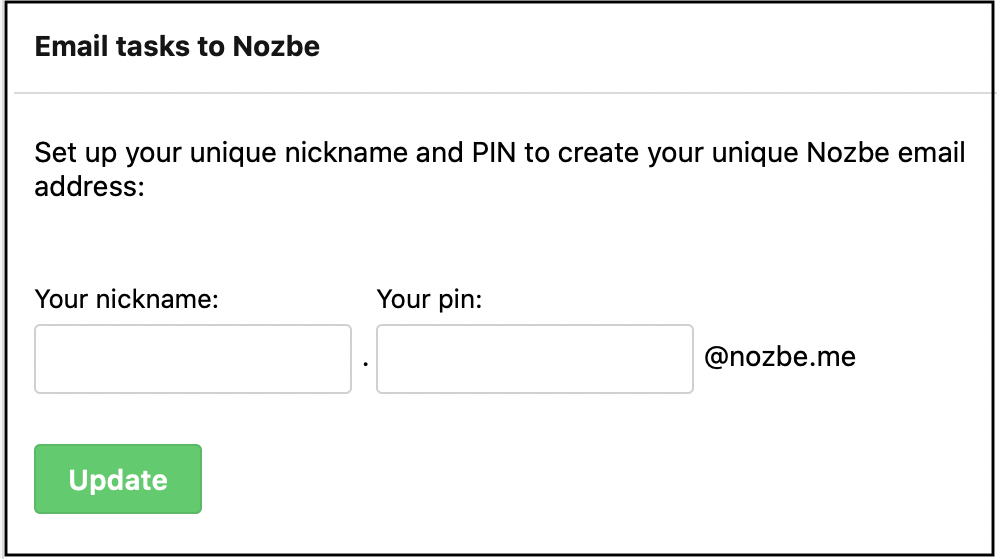
- Set up your Nozbe Email by adding a PIN.
- Save this email address to your contacts.

- Connect Google Calendar and check the box to “disable reminders in Google Calendar.” This will make it so you don’t get two notifications every time a task is due (one from Nozbe and one from your calendar).

- Connect your Evernote account and check the box to “Enable Evernote Reminders.” This will come in very handy later.

- Connect your cloud storage. Dropbox, Box, or Google Drive.
Once you’ve set up Nozbe integrations you’ll be well on your way to streamlining your productivity and simplifying your systems.
Make sure to stay tuned next week for the next steps on getting the most out of these integrations. Sign up below to never miss an update.


